How to set up a client portal for an MSP client
In ActiveQ, each client is an organization with its own portal, sign-in rules, branding, forms and optional mailbox. This guide walks through the real screens in the order most managed service providers (MSPs) set them up.
The screen names below are the ones ActiveQ ships with. A workspace can rename nouns such as ticket, organization, contact and portal under Settings, then Terminology, so your own screens may use different words. You also need a role with the matching permissions to see each settings page.
Step 1: Create the client as an organization
- Open Organizations in the left navigation (on small screens it sits under People), then choose New organization.
- Enter the client’s Name. The Domains field takes the client’s email domains, press Enter after each one. ActiveQ uses them to match people to the organization by their email domain. Common free email domains, such as gmail.com, are never matched automatically.
- Optionally choose an Account owner, the team member who looks after this client, and add notes.
- Choose Create organization.
Step 2: Add the client’s people
Open the organization and use Add contact on its Contacts tab, or use Contacts in the left navigation. A contact has a name, email, telephone number, job title, organization and a Portal role. The portal role is Member, or Organization admin. An organization admin can see every ticket for their organization.
To bring in many people at once, the setup guide has a step for organizations and contacts. You paste rows or choose a CSV file, match the columns, preview every row and import. The limit is 2,000 rows and 1 MB at a time.
Step 3: Create the client portal
- Open Settings, then Portals, and choose New client portal.
- Pick the Organization the portal belongs to.
- Choose an Address. It takes letters, numbers and hyphens, up to 40 characters. The portal is served under
/help/followed by this address on your workspace’s web address, and the list in Settings shows the full address with a Copy button. - Enter a Name. It is shown to the client’s people at the top of the portal.
- Choose Create portal. Your workspace also has its own default portal at
/help.
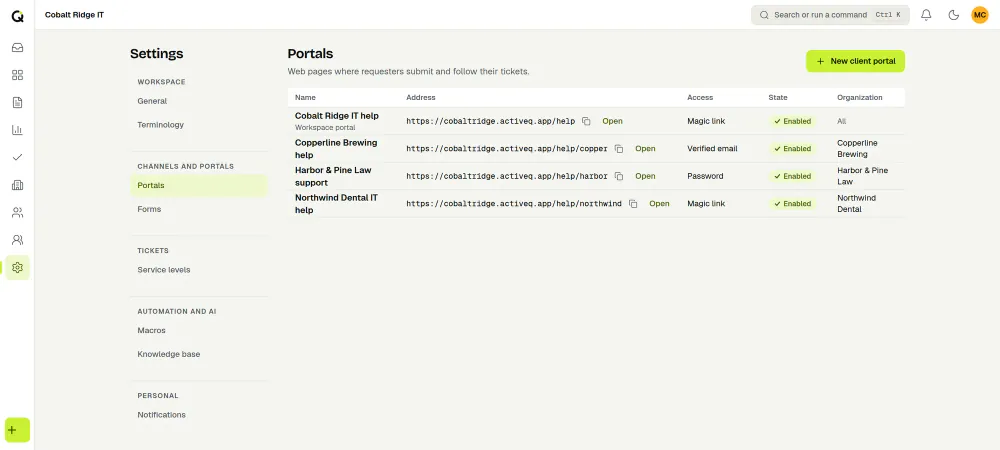
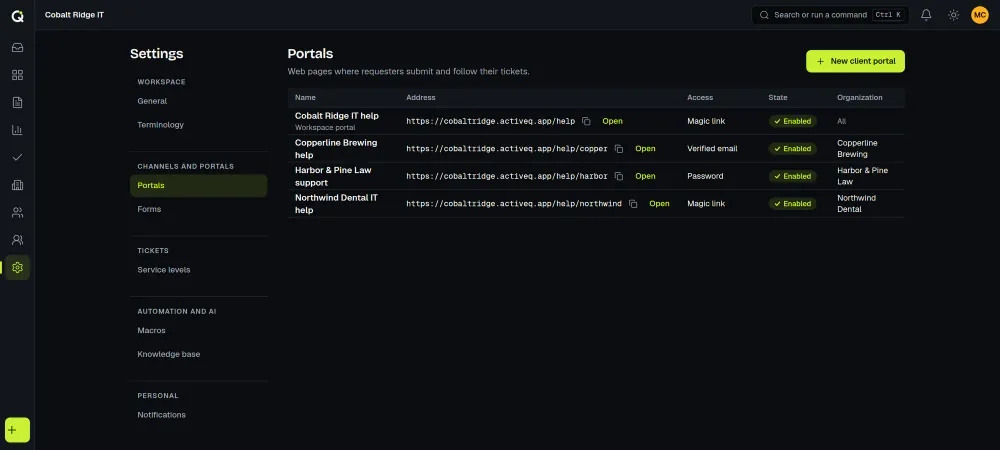
Open the portal from the list in Settings, then Portals. It starts on the Access tab, and the tabs along the top cover the remaining steps.
Step 4: Decide who can sign in (Access tab)
Under Access, “Who can sign in” offers five modes.
- Open. Anyone can send a ticket without signing in. They confirm by email and a check keeps bots out.
- Verified email. People enter a 6-digit code that ActiveQ emails them. Nothing to remember.
- Magic link. People sign in with a link ActiveQ emails them.
- Password. People sign in with a password. They can register themselves or be invited.
- Invite only. Only people you invite can sign in, with a password.
The same tab has a few more settings. “People can register themselves” is available for Password access only. “Create a contact for new people” adds someone as a contact when they sign in with an email ActiveQ does not know, and it is never available for Invite only. When “Everyone at the organization sees all its tickets” is off, people see only their own tickets and ones they are copied on. “Allowed email domains” can stay empty to allow any domain, or hold the client’s domains so only their people can sign in. “Check that visitors are people” turns on the bot check and, for Open access, a limit on anonymous tickets per hour. When “Enabled” is off, the address shows a closed page and nobody can sign in or send a ticket.
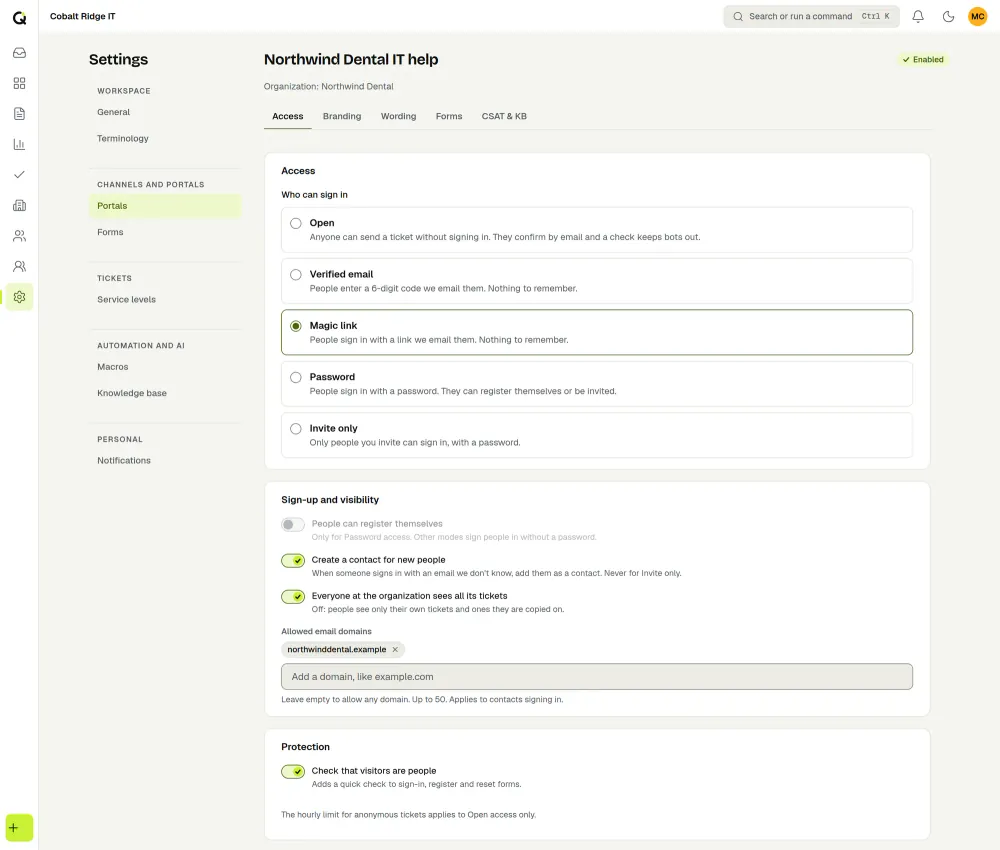
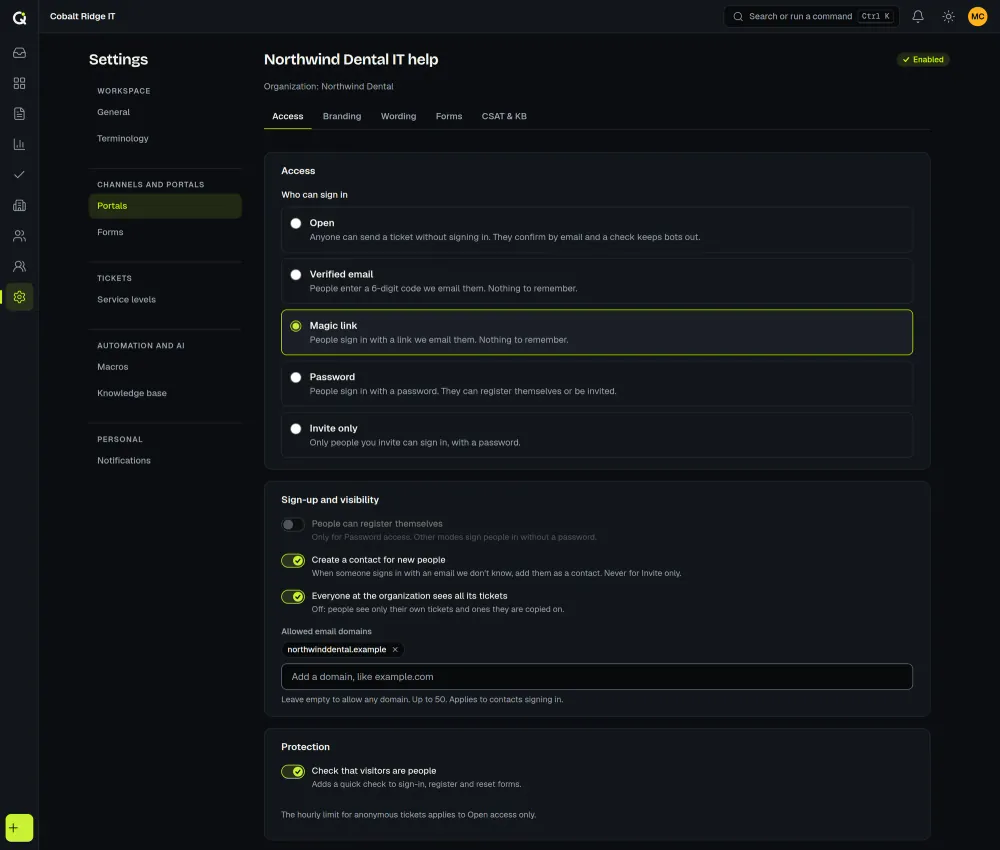
Choose Save changes when you are done. To invite a person, open their contact and use Invite to portal in the Portal access card. The same card can resend an invitation, disable the account or sign the person out everywhere.
Step 5: Brand it (Branding tab)
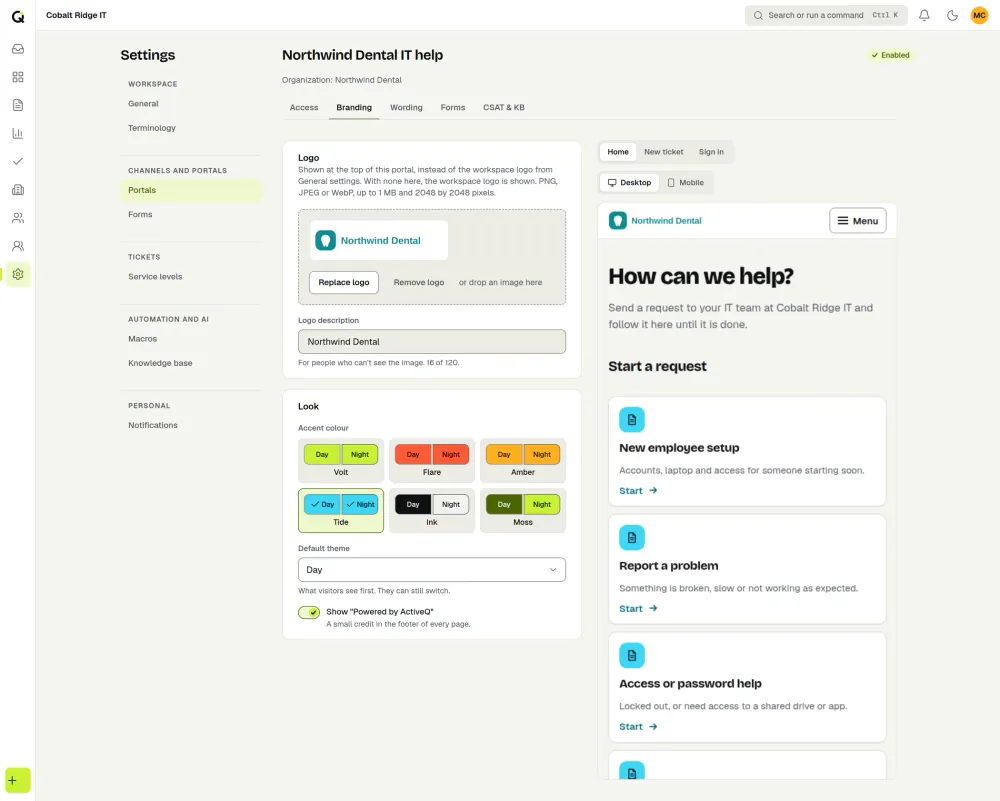
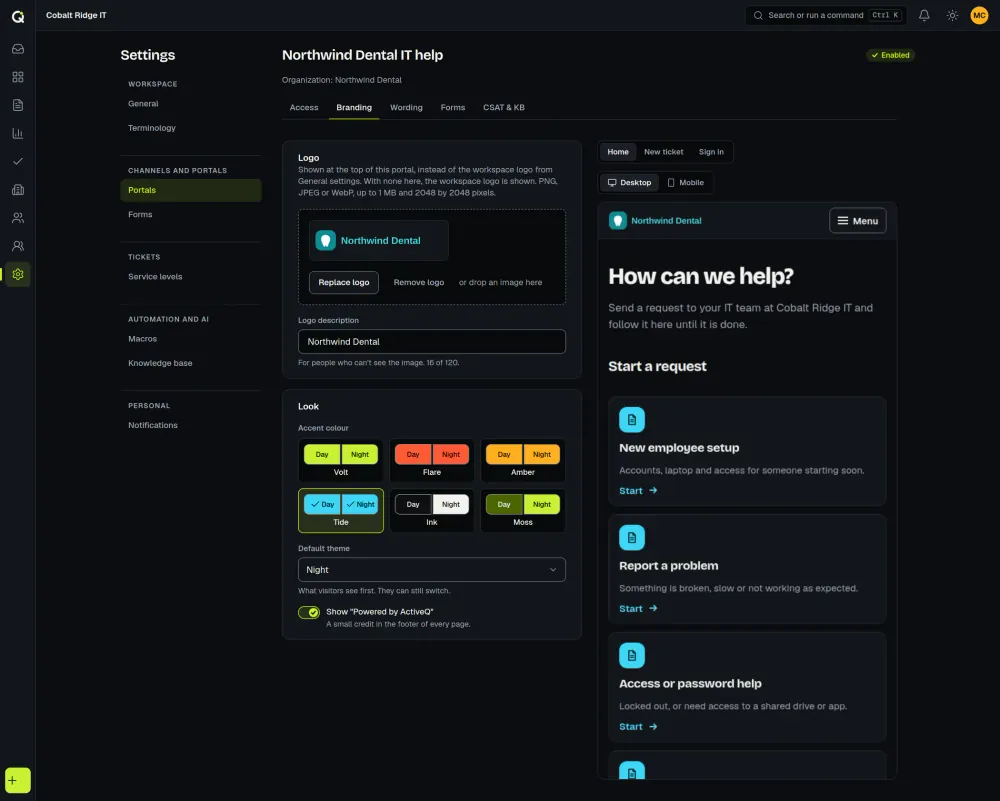
The logo can be a PNG, JPEG or WebP file, up to 1 MB and 2048 by 2048 pixels, with a Logo description for people who cannot see the image. The look is an accent colour and a default theme, which is what visitors see first; they can still switch. A small “Powered by ActiveQ” credit shows in the footer of every page, and you can turn it off.
Step 6: Set the wording (Wording tab)
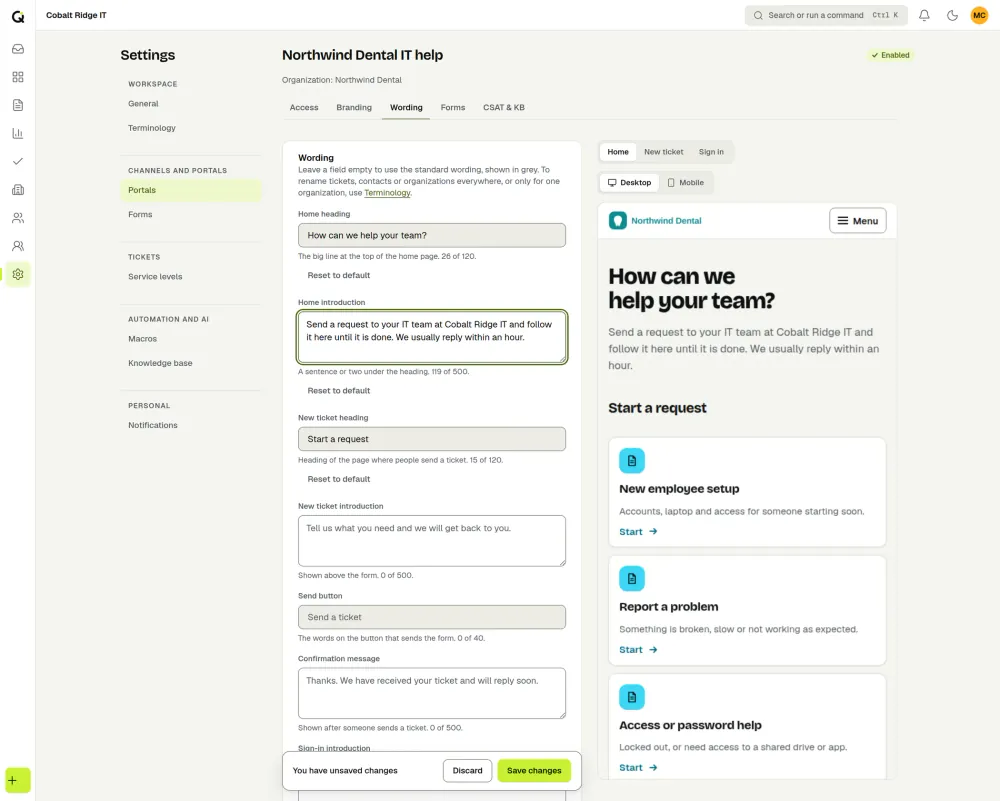
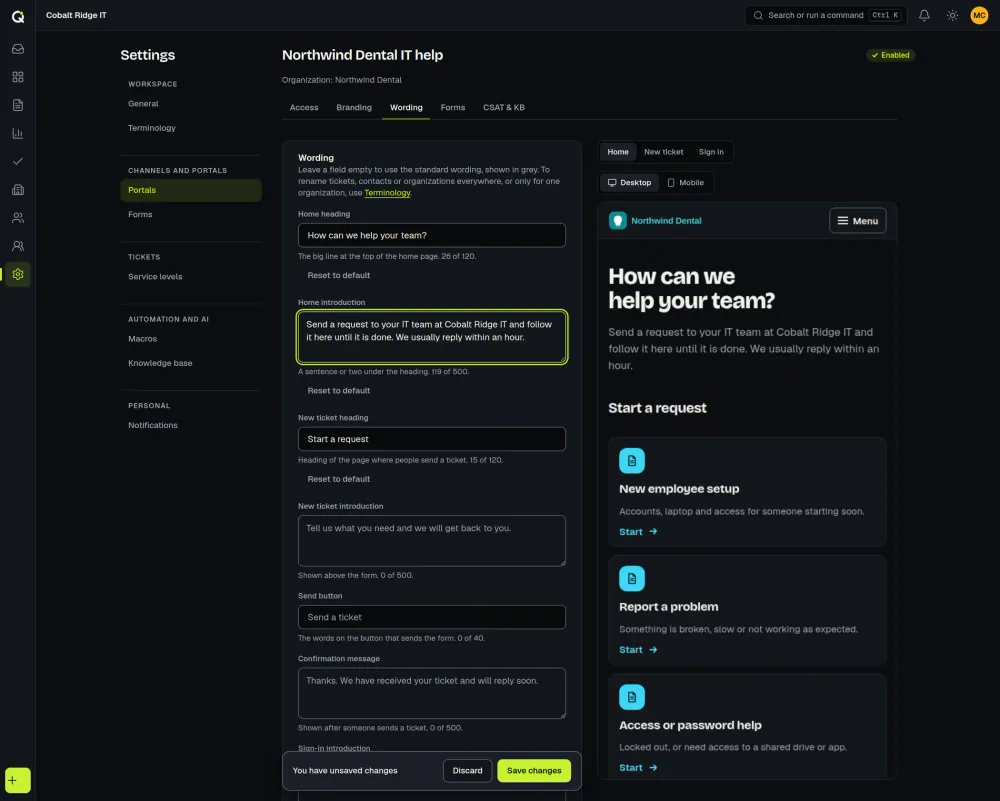
Each field has a standard wording shown in grey, and an empty field keeps it. You can change the home heading and introduction, the new ticket heading and introduction, the send button, the confirmation message, the sign-in introduction, a response time line and the footer. A live preview of the portal sits beside the fields. To rename tickets, contacts or organizations everywhere, use Terminology in Settings. A single client can also have its own words on the Terminology tab of its organization.
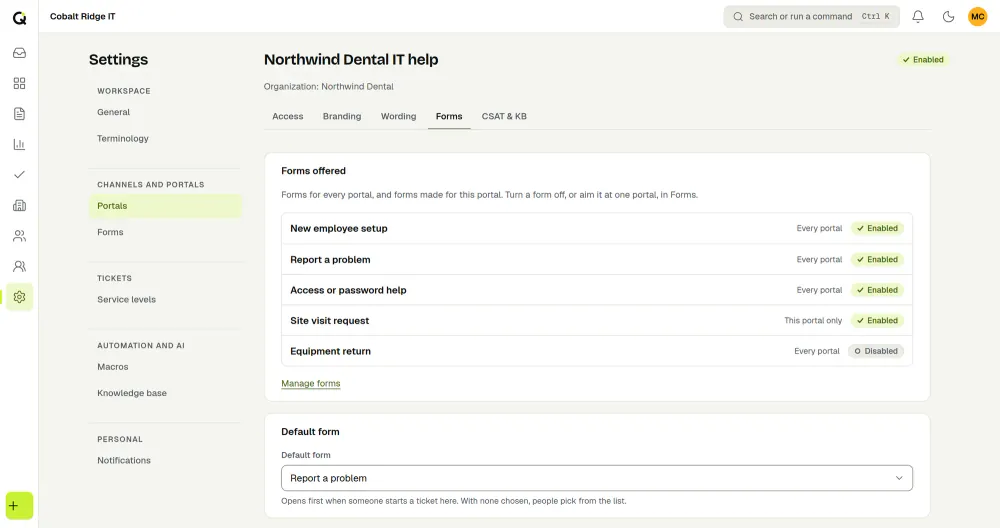
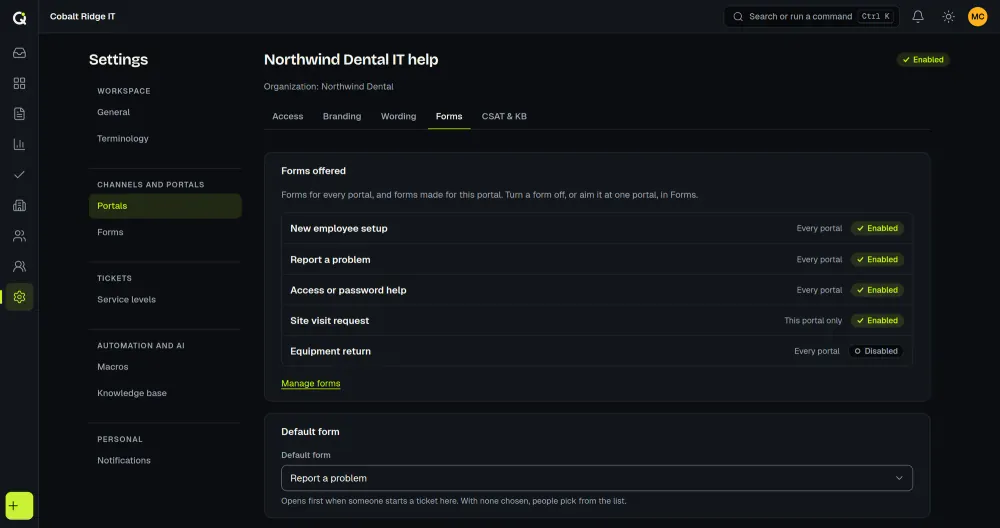
Step 7: Choose the forms (Forms tab)
The Forms tab lists the forms offered on this portal: forms for every portal and forms made for this one. Build or switch forms on and off under Settings, then Forms. Back on the portal, choose a Default form, which opens first when someone starts a ticket. With none chosen, people pick from the list.
Step 8: Give the client an email address (optional)
Under Settings, then Channels, choose New mailbox and set its Organization to the client. Mail sent to that address then opens tickets for that organization. The mailbox dialog also has instructions for forwarding the client’s own support address to it. The shared inbox guide covers email intake in more detail.
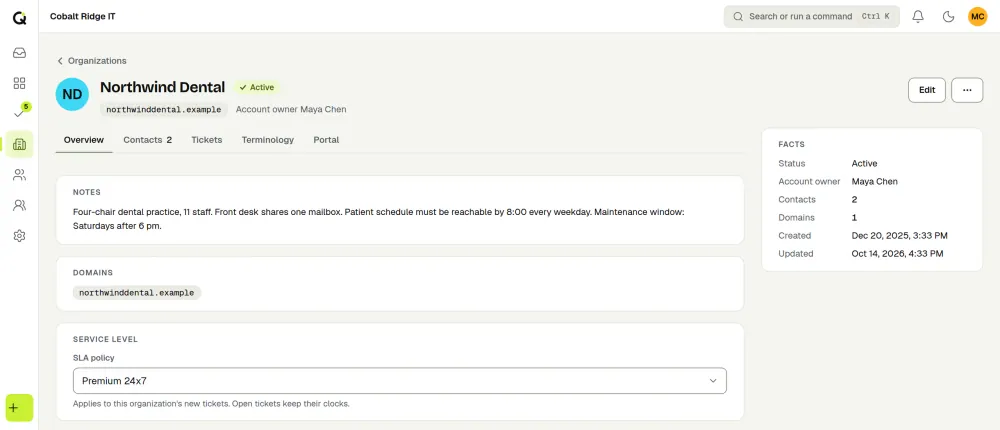
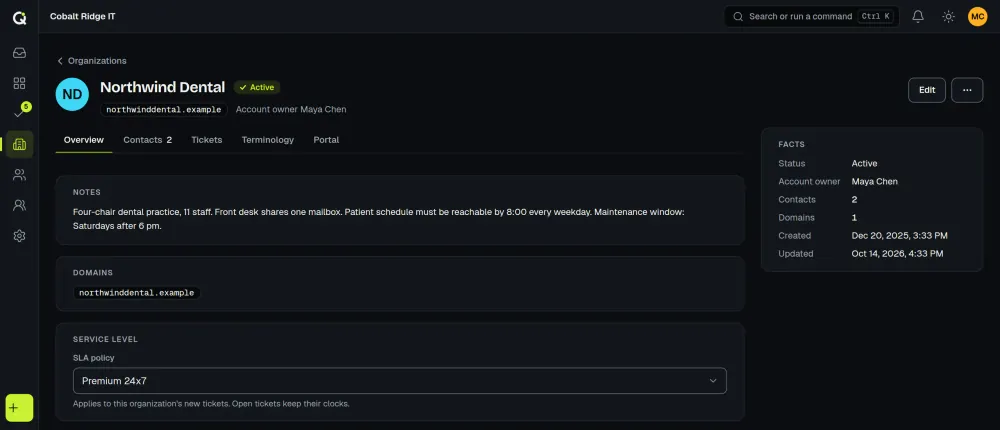
Step 9: Set the client’s service levels (optional)
On the organization, the Service level card has an SLA policy field. The policy applies to the organization’s new tickets, and open tickets keep their clocks. The IT SLA guide explains how to choose targets.
Step 10: Test it
- Use the open icon next to the portal in Settings, then Portals, to view it in a new tab.
- Sign in as a test contact and send a ticket, then look for it in your queue.
- Reply from the queue and look at what the contact sees.
- Invite the first real contacts.
See how MSPs use ActiveQ, client portals and pricing. The glossary explains escalation and other service desk terms.
Portal address and reports
A client portal is served from your ActiveQ address, not from a domain of the client’s own. Reports are for your team and are not shown in client portals; you export a client report and send it yourself.